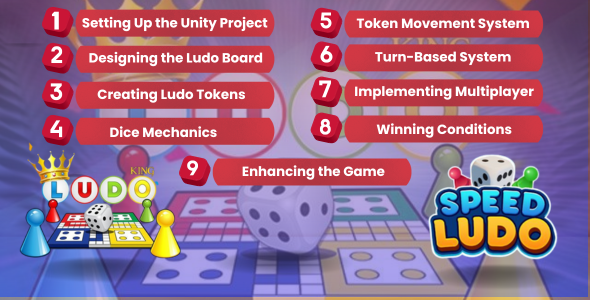
Introduction
- Unity (Latest version recommended)
- Visual Studio (for scripting)
- Basic knowledge of C# and Unity
Step 1: Setting Up the Unity Project
To start developing a Ludo game in Unity, first, install Unity Hub and ensure you have a compatible Unity version (preferably the latest LTS). Open Unity Hub, click New Project, and select the 2D template since Ludo is a board-based game. Name the project “LudoGame”, choose a suitable location to save it, and click Create. Once Unity initializes the project, organize the Assets folder by creating subfolders like Scenes (for game levels), Scripts (for game logic), Sprites (for visual assets), Prefabs (for reusable objects), Audio (for sound effects), and UI (for buttons and menus).
After setting up the project, save the initial scene as MainMenu to serve as the game’s starting screen. This structured approach ensures a smooth workflow as you progress in development. With the project ready, the next step is to import assets and start designing the Ludo board.
1. Open Unity Hub and create a new 2D Project.
2. Name the project “LudoGame” and select a location to save it.
3. Click Create.
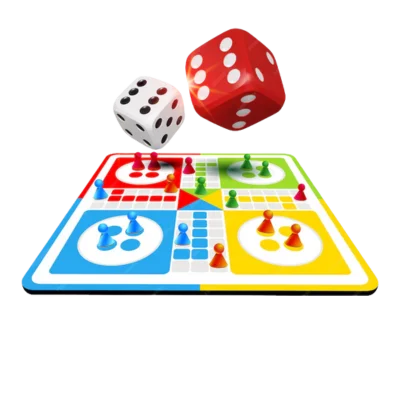
Step 2: Designing the Ludo Board
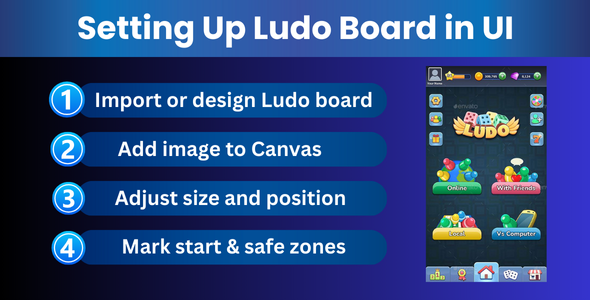
Import a Ludo board image or create a custom design using UI Image components. Ensure the board layout is clear, with distinct paths for each player’s pieces. Choose vibrant colors and high-resolution graphics to enhance the visual appeal.
Drag and drop the board image onto the Canvas, then adjust its position and size to fit the game view properly. Add four starting areas for each player, marking them with their respective colors. Include safe zones where pieces can rest without being captured, ensuring these areas stand out with unique visual markers or icons.
1. Import a Ludo board image or design one using UI Image.
2. Drag and drop the image into the Canvas.
3. Adjust the position and size to fit the game view.
4. Add four starting areas and safe zones using UI elements.
Step 3: Creating Ludo Tokens
Design or import player tokens (red, blue, green, yellow) with high-quality graphics to enhance the visual appeal. Ensure each token has a distinct shape or pattern to improve player recognition. Once designed, add them as sprites in Unity and properly scale them to fit the game board layout.
Attach colliders to each token to detect movement, interactions, and collisions with board elements. Implement rigid body physics if needed for smooth animations. Set each token’s initial position at the respective player’s starting point and ensure they follow a predefined path based on dice rolls. Configure layering and sorting to avoid overlapping visuals during gameplay.
1. Design or import player tokens (red, blue, green, yellow).
2. Add them as sprites in Unity.
3. Attach colliders to detect movement and interactions.
4. Set each token’s initial position at the respective player’s starting point.
Step 4: Implementing Dice Mechanics
🎲 How to Create a Dice Roller in Unity 🎲
- 🛠️ Create a Dice Object: Add a button that triggers the roll action.
- 🎲 Generate Random Values: Use Unity’s
Random.Range(1, 7)to simulate a real dice roll. - 📊 Display the Result: Show the rolled number on-screen using a UI Text element.
- ✨ Enhance User Experience: Animate the dice roll for a more engaging effect.
Read Also- Building Multiplayer Ludo Games.
Step 5: Token Movement System
- Assign a turn-based system for players.
- Implement movement logic based on the dice roll.
- Use a grid system to define movement paths.
- Check for conditions like reaching home or capturing an opponent’s token.
Step 6: Turn-Based System
- Create a turn manager script.
- Implement logic to switch turns between players after a move.
- Enable and disable player inputs accordingly.
Step 7: Implementing Multiplayer (Local or Online)
Local Multiplayer
In a local multiplayer setup, assign unique tokens or identifiers to each player to distinguish their moves. Implement a turn-based system where players take actions sequentially, ensuring fairness and smooth gameplay. Use event listeners or a game loop to track and validate each player’s move before switching turns. Additionally, incorporate UI elements like player indicators and timers to enhance engagement.
- Assign different tokens to each player.
- Use a turn-based system to manage player moves.
Online Multiplayer (Photon PUN)
For online multiplayer, install Photon Unity Networking (PUN) from the Unity Asset Store to handle real-time synchronization. Set up a Photon Room and lobby system to allow players to join matches dynamically. Ensure proper state management by synchronizing player actions, scores, and game events across all connected devices. Implement RPC (Remote Procedure Calls) to execute functions across the network seamlessly. Finally, add matchmaking features to pair players based on skill levels or preferences for a balanced gaming experience.
- Install Photon Unity Networking (PUN) from Unity Asset Store.
- Set up a Photon Room and lobby system.
- Sync game states across multiple devices.
Step 8: Winning Conditions
To declare a winner, the game continuously checks if a player has successfully moved all their tokens to the designated home area. Once this condition is met, the game triggers the victory sequence, celebrating the player’s achievement. Visual effects, animations, or congratulatory messages can enhance the winning experience, making it more engaging and rewarding.
After displaying the victory screen, players should have the option to either restart the game for a new round or return to the main menu to explore other game modes or settings. A leaderboard or game statistics screen can also be shown, allowing players to review their performance and compare scores with others.
- Check if a player has moved all tokens to the home area.
- Display a Victory Screen when a player wins.
- Restart the game or return to the main menu.
Step 9: Enhancing the Game
Adding sound effects can significantly improve player immersion, making dice rolls feel realistic and movements more engaging. Implementing smooth animations for transitions, such as piece movement and captures, enhances the visual appeal and ensures a seamless gameplay experience. Additionally, integrating AI opponents allows players to enjoy the game in single-player mode, offering different difficulty levels for a more challenging experience.
To further refine the game, a well-designed main menu should include options for starting a new game, adjusting settings, and exiting. Customization features, such as different board themes or piece designs, can enhance personalization. Introducing multiplayer functionality, whether local or online, will expand the game’s appeal and allow for competitive gameplay among friends or global players.
- Add sound effects for dice rolls, movement, and captures.
- Implement animations for smooth transitions.
- Introduce AI opponents for single-player mode.
- Create a main menu with start, settings, and exit options.
Supercharge Your Ludo Game with Professional Development Consultancy
Conclusion
Developing a Ludo game in Unity is an exciting project that blends game development expertise with timeless board game mechanics. The best ludo game development solutions in 2025 can master the rules, acquire the right assets, and code essential functionalities to deliver an engaging Ludo experience across multiple platforms. Regular testing and iteration are key to ensuring smooth gameplay and an enjoyable experience for players.
FAQ'S
What are the basic requirements to build a Ludo game in Unity?
You need Unity, C# programming knowledge, Unity UI components, and basic game logic for turn-based gameplay.
How do I implement dice rolling mechanics in Unity?
You can use a random number generator (Random.Range(1, 7)) and animate the dice using Unity’s animation system.
How can I create the Ludo board and player tokens?
Design the board using a 2D sprite or UI elements and implement player movement using a grid-based system with waypoints.
How do I add multiplayer functionality to my Ludo game?
Use Photon PUN or Unity’s Netcode for GameObjects to sync player actions and turns in a real-time multiplayer setup.
How can I monetize my Ludo game?
Implement rewarded ads, in-app purchases, or a premium version using Unity Ads or third-party services like AdMob.